


This article was written by Michael Soule. He is a frequent contributor to the Adam the Automator (ATA) blog. If you'd like to read more from this author, check out his ATA author page. Be sure to also check out more how-to posts on cloud computing, system administration, IT, and DevOps on adamtheautomator.com!
If you'd like to leverage your PowerShell skills to your AWS Lambda functions, you're going to get a step-by-step tutorial in this article.
Throughout this article, you will learn how to get started building an AWS Lambda PowerShell function. You'll learn by going through an example use case that creates IAM roles. You will create a Lambda function that is capable of creating other IAM Roles. Your function will read your Role settings (template) from a file and quickly build IAM roles from that template.
Preparing your Environment
This article will be a walkthrough on creating an AWS Lambda PowerShell function. To follow along, ensure you meet the prerequisites defined below.
Since you'll be developing locally and publishing code to AWS Lambda, ensure you have the following installed on your local machine:
- PowerShell Core 6.0 on Windows (macOS or Linux can be used as well)
- .NET Core 2.1 SDK
- The AWSPowerShell.NetCore and AWSLambdaPSCore PowerShell modules
- An CLI AWS Profile - the examples have a default region set to us-east-1.
For a walkthrough on setting up the above prerequisites, check out the article How to Set Up a PowerShell Development Environment for AWS Lambda on Windows.
You will also need to have an AWS Account set up and ready to go.
AWS Lambda supports custom run times, which support newer versions of .NET Core other than the long-term service branches.
AWS Lambda PowerShell Demo: Permission Management
Within the AWS ecosystem, the Identity and Access Management (IAM) service controls authentication and access. One of these main components is IAM roles. IAM roles allow you to define what action can be taken or prevented against a specific AWS resource.
Using multiple accounts as a control to limit scope of teams, projects, or services is a good habit to get into. Rather than having multiple users in each account, you can assume the roles in another account. Though maintaining multiple common roles across multiple accounts means the operational burden scales exponentially.
In the following sections you will learn how to provision IAM roles through an example Lambda PowerShell function.
If you'd rather skip straight to the code without the explanation, you can download it here.
Preparing the S3 Bucket
Before creating the Lambda function, you'll first need a place to store various configuration files to be read by Lambda. An intuitive place to store these files is in an S3 bucket. To do this, ensure you're at a PowerShell Core console and executing the below code.
The code below is creating a new S3 bucket and disables public access to the bucket explicitly.
S3 bucket names need to be globally unique and lowercase. If this example name is taken, use any other name you'd like.
$bucket = New-S3Bucket -BucketName "awslambdapowershelldemo1"
Add-S3PublicAccessBlock -BucketName $bucket.BucketName -PublicAccessBlockConfiguration_BlockPublicAcl $true -PublicAccessBlockConfiguration_BlockPublicPolicy $true -PublicAccessBlockConfiguration_IgnorePublicAcl $true -PublicAccessBlockConfiguration_RestrictPublicBucket $true
Once the S3 bucket is created, you'll now have a place to store configuration files.
Creating an IAM Role for the Lambda Function
Like with any AWS resource, Lambda needs to run under a specific context. To ensure your Lambda function has only the required permissions, create an IAM role specifically for it. Any permissions associated with this role will be permissions your function can use.
In the following commands, you will see variables set to multiple line strings representing JavaScript Object Notation (JSON) values. AWS IAM uses JSON heavily to define permissions and policies. You can read more about IAM in the AWS IAM User Guide.
To create an IAM role for your Lambda function, execute the code you see below. This code defines a JSON object allowing the AWS Lambda service to assume the role and uses that JSON to create a role named ROLE-RoleManager.
$policy = @"
{
    "Version": "2012-10-17",
    "Statement": [
        {
            "Sid": "",
            "Effect": "Allow",
            "Principal": {
                "Service": "lambda.amazonaws.com"
            },
            "Action": "sts:AssumeRole"
        }
    ]
}
"@
$role = New-IAMRole -RoleName "ROLE-RoleManager" -AssumeRolePolicyDocument $policy
Now that you have created the IAM Role, now assign specific permissions to the role. You can assign permissions through inline or AWS managed policies. You will use one of each below.
The below code snippet is creating a custom policy and allowing any IAM action against any resource. Be sure to limit the actions and resources in a production deployment.
The updated policy is assigned to the role as an inline policy using the Write-IAMRolePolicy cmdlet. The AWS Lambda Basic Execution Role is an AWS managed policy assigned to the role using the Register-IAMRolePolicy.
$policy = @"
{
    "Version": "2012-10-17",
    "Statement": [
        {
            "Sid": "",
            "Effect": "Allow",
            "Action": "iam:",
            "Resource": ""
        }
    ]
}
"@
Write-IAMRolePolicy -RoleName "ROLE-RoleManager" -PolicyDocument $policy -PolicyName "POLICY-ROLE-RoleManager"
Register-IAMRolePolicy -RoleName "ROLE-RoleManager" -PolicyArn "arn:aws:iam::aws:policy/service-role/AWSLambdaBasicExecutionRole"
Assigning an S3 Bucket Policy
Now that you have a custom IAM role created, it's time to update the S3 bucket policy to allow access to it. To do that, create and assign a policy that allows your role to perform any action against the bucket and objects within the bucket. You'll see below how to do that.
In the below code snippet, the Amazon Resource Number (ARN) of the IAM Role and the S3 Bucket name are passed in from the variables used when creating the components in previous commands.
As you add additional accounts, you will need to add the Role Amazon Resource Number (ARN) to allow Lambda functions in those accounts to access the bucket.
$policy = @"
{
    "Version": "2012-10-17",
    "Statement": [
        {
            "Effect": "Allow",
            "Principal": {
                "AWS": [
                    "$($role.Arn)"
                ]
            },
            "Action": [
                "s3:"
            ],
            "Resource": [
                "arn:aws:s3:::$($bucket.BucketName)",
                "arn:aws:s3:::$($bucket.BucketName)/"
            ]
        }
    ]
}
"@
Write-S3BucketPolicy -BucketName $($bucket.BucketName) -Policy $policy
Creating the Lambda Function
Now that you've got an IAM role and S3 bucket created along with all the policies set, it's time to create the Lambda function. You could create the Lambda function by going to the AWS management console, but let's get meta and build the Lambda PowerShell function with PowerShell.
Creating the Lambda Working Directory
First, create a new local working directory for the Lambda function with the New-AWSPowerShellLambda cmdlet.
New-AWSPowerShellLambda -ScriptName FUNCTION-RoleManager-1 -Template Basic
Creating the Lambda Code
Once you have a working directory, you now need to create a PowerShell script which will contain the code the Lambda function will run. To do so, create a new script file called FUNCTION-RoleManager-1.ps1 in your working directory. Once you have the script open, copy and paste the following code in it and save it.
Be sure to change the S3 bucket name!
#Requires -Modules @{ModuleName='AWS.Tools.Common';ModuleVersion='4.0.2.0'}, @{ModuleName='AWS.Tools.S3';ModuleVersion='4.0.2.0'}, @{ModuleName='AWS.Tools.IdentityManagement';ModuleVersion='4.0.2.0'}# Select all the objects within the central configuration bucket$bucket = "awslambdapowershelldemo1"$objects = Get-S3Object -BucketName $bucketforeach($object in $objects){ # You will use parts of the object paths later in the function so we will identify those pieces # Determine the index of the first forward slash $firstSlash = $object.Key.IndexOf("/") # Determine the index of the second forward slash $secondSlash = $object.Key.IndexOf("/",$firstSlash+1)-$firstSlash-1 # The entity represents the AWS account number or the AWS service name the role is for $entity = $object.Key.Substring(0,$firstSlash) # The role name will be used for the actual IAM Role Name $roleName = $object.Key.Substring($firstSlash+1,$secondSlash) # The policy name will be used to name the customer managed policies $policyName = $object.Key.Substring($firstSlash+$secondSlash+2,$object.Key.IndexOf(".")-$firstSlash-$secondSlash-2) # We first identify if the entity is an AWS account number, essentially 12 digits if($entity -match "^[0-9]{12}$") { $policy = @"{ "Version": "2012-10-17", "Statement": [ { "Sid": "", "Effect": "Allow", "Principal": { "AWS": "$entity" }, "Action": "sts:AssumeRole" } ]}"@ # Create the new role $role = New-IAMRole -RoleName "$roleName" -AssumeRolePolicyDocument $policy } # We assume if it isn't an account number, then it is intended to be an AWS service name else { $policy = @"{ "Version": "2012-10-17", "Statement": [ { "Sid": "", "Effect": "Allow", "Principal": { "Service": "$entity.amazonaws.com" }, "Action": "sts:AssumeRole" } ]}"@ $role = New-IAMRole -RoleName "$roleName" -AssumeRolePolicyDocument $policy } # Next we need to idnetify AWS or customer managed policies to attach to the role # A managed object name will refer to AWS managed if($policyName -eq "managed") { # First download the policy object $file = Invoke-WebRequest (Get-S3PreSignedURL -BucketName $bucket -Expire (Get-Date).AddMinutes(1) -Protocol HTTP -Key "$entity/$roleName/$policyName.json") # Next get the content from the downloaded object $json = [System.Text.Encoding]::ASCII.GetString($file.content) # Then convert it to a JSON object $jsonObject = ConvertFrom-Json $json foreach($arn in $jsonObject.arn) { # Now for each of the ARNs attach them to the Role Register-IAMRolePolicy -RoleName "$roleName" -PolicyArn "$arn" } } # We assume everything else is a unique customer managed policy else { $file = Invoke-WebRequest (Get-S3PreSignedURL -BucketName $bucket -Expire (Get-Date).AddMinutes(1) -Protocol HTTP -Key "$entity/$roleName/$policyName.json") $json = [System.Text.Encoding]::ASCII.GetString($file.content) # Create the new IAM Policy and attach to the Role Write-IAMRolePolicy -RoleName "$roleName" -PolicyDocument $json -PolicyName $policyName }}Uploading the Lambda Function to AWS
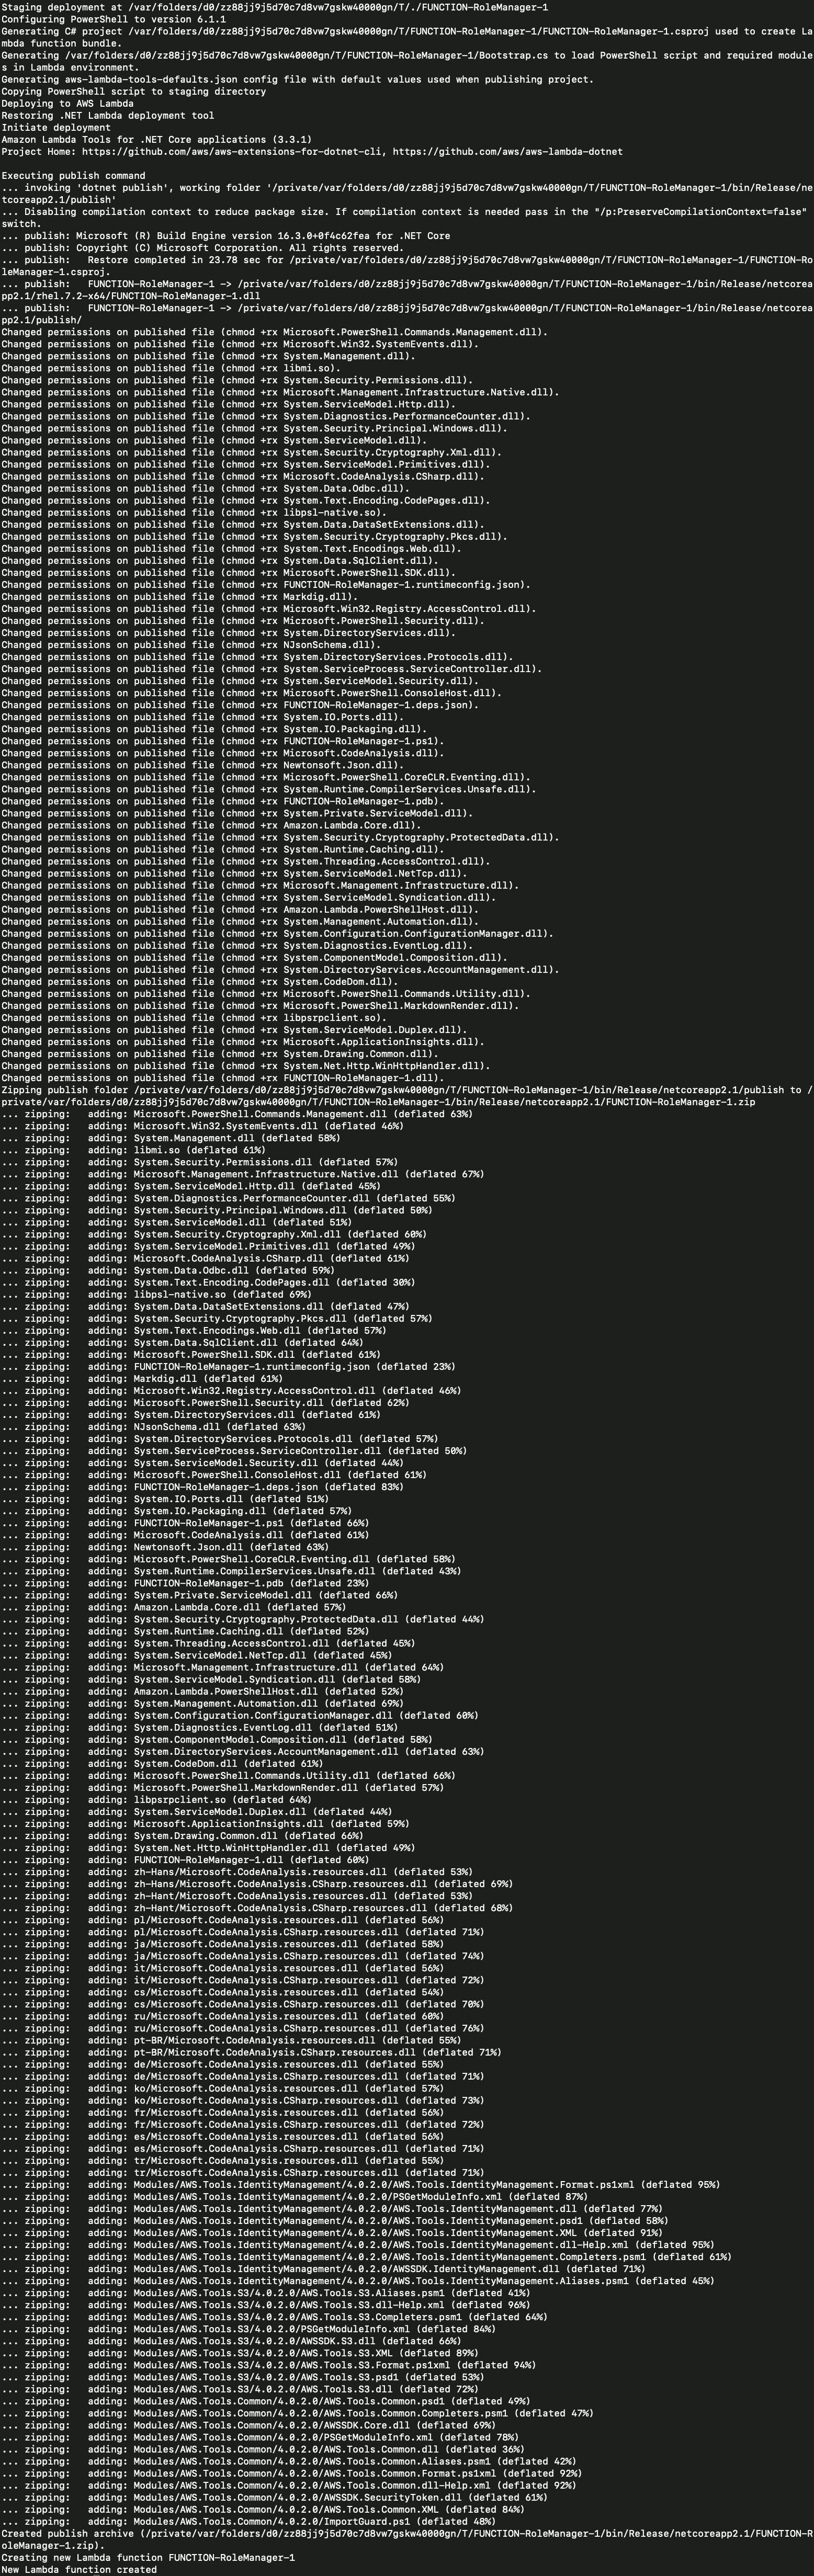
Now that you have the working directory created and the PowerShell code to send to AWS, it's time to publish the Lambda function to AWS. To do that, run the Publish-AWSPowerShellLambda cmdlet. This cmdlet wraps up the code in the PowerShell script into a zip file and publishes it to the AWS Lambda service.
Open up your PowerShell console and navigate to the location where the above script was saved to. Change the region variable, if necessary and then run the below code.
Publish-AWSPowerShellLambda -ScriptPath .\FUNCTION-RoleManager-1\FUNCTION-RoleManager-1.ps1 -Name FUNCTION-RoleManager-1 -IAMRoleArn $role.ArnIf executed properly, you should then see output similar to the following:
Configuring the Trigger
A Lambda function requires some other action to trigger it. It could be a specific time schedule, an event occurring in another AWS service, or simply manually triggered when needed. For this use case, create a scheduled trigger for every hour using a CloudWatch Event.
The below code snippet:
- Selects the Lambda function that you just published.
- Creates a CloudWatch event rule to run hourly.
- Assigns a target - the target identifies the action the event will take when triggered, which is the Lambda function.
- Associates the target with the rule and applies permission for the Lambda function to be invoked by the CloudWatch event rule.
$lambda = Get-LMFunctionList|Where-Object{$_.Role -eq $role.Arn}
$rule = Write-CWERule -Name "RULE-CronHourly" -ScheduleExpression "rate(1 hour)" -State ENABLED
$target = New-Object Amazon.CloudWatchEvents.Model.Target
$target.Arn = $lambda.FunctionArn
$target.Id = $lambda.RevisionId
Write-CWETarget -Rule $rule.Substring($rule.IndexOf("/")+1) -Target $target
Add-LMPermission -FunctionName $lambda.FunctionName -Action "lambda:InvokeFunction" -Principal "events.amazonaws.com" -StatementId $rule.Substring($rule.IndexOf("/")+1) -SourceArn $rule
Creating a Test Role
At this point, the Lambda PowerShell function should be ready to go. Let's test it out!
The function trigger will occur every hour, but the Lambda will not take any action until the JSON IAM objects are in the S3 bucket. Go ahead and create one using the Write-S3Object PowerShell cmdlet using the code below.
The Lambda function works with a specific syntax for the key names and the JSON objects. The code below is creating the JSON files with a key name format the Lambda function will read.
The managed.json file will include any ARNs for AWS Managed Policies you want to attach. Finally, the file name key paths (e.g. POLICY-FullAdmin.json) contain individual inline IAM Policies, with the file name as the policy name.
$policy = @"{ "arn": [ "arn:aws:iam::aws:policy/AdministratorAccess" ]}"@## $((Get-STSCallerIdentity).Account) returns the current AWS account number## Replace ROLE-Name with any name you'd like the role to beWrite-S3Object -BucketName $bucket.BucketName -Key "$((Get-STSCallerIdentity).Account)/ROLE-Name/managed.json" -Content $policy$policy = @"{ "Version": "2012-10-17", "Statement": [ { "Sid": "", "Effect": "Allow", "Action": "", "Resource": "" } ]}"@Write-S3Object -BucketName $bucket.BucketName -Key "$((Get-STSCallerIdentity).Account)/ROLE-Name/POLICY-FullAdmin.json" -Content $policyTesting the Function
Finally, with the Lambda function ready to go, and the role objects uploaded to the bucket you can manually invoke the function and verify the new role was created.
The function is created but is on a schedule. This means you'd have to wait around for the function to kick off. To prevent waiting, go ahead and kick off the function manually using the code below.
The below code is manually invoking the function which should then create the IAM role. To check for the new IAM role, Get-IAMRole is checking for the existence of a role called ROLE-Name.
Invoke-LMFunction -FunctionName $lambda.FunctionNameGet-IAMRole -RoleName "ROLE-Name"
Summary
Through this post, you have worked with multiple AWS services, like CloudWatch, S3, IAM, and Lambda all through the AWS PowerShell tools. You also created a PowerShell Core Lambda function solving a real-world issue. You can use what you have learned to tackle other use cases. I encourage you to start looking into any recurring tasks you can turn into a Lambda function.