


This article was written by Nick Rimmer. He is a frequent contributor to the Adam the Automator (ATA) blog. If you'd like to read more from this author, check out his ATA author page. Be sure to also check out more how-to posts on cloud computing, system administration, IT, and DevOps on adamtheautomator.com!
You and your team are onboard the DevOps train and your boss wants a version control system set up. You begin using Git on the desktop and soon start figuring out how to collaborate. GitHub looks like a great option but wait, your organization has a policy where all code is to be stored on-premises! It's time to look into GitEA.
If you find yourself in this kind of scenario or simply want your own on-premises Git version control, you can still make it work. Using Gitea, you can bring GitHub-like collaboration on-prem!
In this article, you're going to learn about GitEA and how you can set up your own on-prem version control for free!
Gitea: An Introduction
Before we dive into the configuration, lets talk about Gogs. Gogs is where Gitea originates from. Gogs describes itself as a 'painless self-hosted git service'. It's easy to install, available on many platforms, is lightweight and also open source.
Gitea is a fork of Gogs, Gitea is a well-supported open source product. The people who develop it are all former Gogs users who wanted to move away from the single maintainer model that Gogs runs under.
A quote from the Gitea blog describes it well: "If you want simplicity and secure app: gogs, if you need lot of features, organization groups and great people involvement: use gitea!"
Gitea is feature rich and its worth having a quick look at all the features.
Gitea vs. Gogs
Although similar to Gogs, Gitea differs in a few ways.
- File architecture difference - Gogs has many support files whereas Gitea is a single binary. Gitea combines much of the functionality into that single binary that Gogs chooses to distribute in different files
- Developer base - Gogs is run by a single developer while Gitea has many contributors
- Documentation - Gogs has better documentation. You'll find links from Gitea to the Gogs web site a lot.
For a full breakdown of how Gitea and Gogs compare, check out the official Gitea vs. Gogs comparison table.
Now with the background information information out of the way, let's get our hands dirty and learn how to implement Gitea in your organization!
Prerequisites
If you plan to follow along, you are expected to have a few prerequisites in place. You will need:
- A Windows Server VM or Windows 10 (I'll be using a host of app1.psdevops.local) I would recommend a minimum of Windows 2012 R2 and any version of Windows 10
- An Active Directory (AD) domain (optional if using AD authentication)
- Gitea (We are using version 1.8.2 in this article)
- SQLite 3.29 - (Assuming this is installed on your local Windows 10 system in C:\sqlite) You will work through the process of installing this in the first section.
Note: You'll be in the Windows command-line quite a bit. Although you can set up Gitea using the Windows command prompt, I've chosen to use PowerShell. PowerShell makes it easier to install Gitea and perform all of the configuration steps.
Setting up the Database
The first step is getting a database set up for Gitea to store information. Gitea supports Microsoft SQL, MySQL and SQLite databases. Gitea will work just as well on all of these versions but in this article, you're going to use SQLite.
SQLite is a lightweight, fast and self-contained serverless database engine. It's perfect for testing with. If you're running Gitea in production, you may want to consider Microsoft SQL or MySQL.
To set up a SQLite database:
- Open up a PowerShell prompt as administrator.
- Run
C:\sqlite\sqlite3.exe gitea.db. This will create a database for Gitea in C:\sqlite. (screenshot below) - Ensure you can open the SQLite database by running
.databases. (screenshot below)
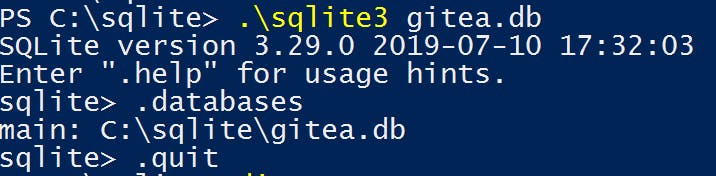
4. Type .quit to exit the sqlite cli.
Installing GitEA
Once the database has been created, it's now time to install Gitea. To do so:
- Create a folder called c:\gitea by running
mkdir C:\gitea. This will be where Gitea is "installed". - Extract the executable downloaded earlier into the c:\gitea folder. The executable will have a long name such as gitea-1.8.2-windows-4.0-386.exe depending on the version. In step 3 you will rename this to gitea.exe, this means the command line is shorter when we come to install it as a service.
- Rename the executable to gitea.exe. Although not required, you will see later how this makes things easier.
- Type
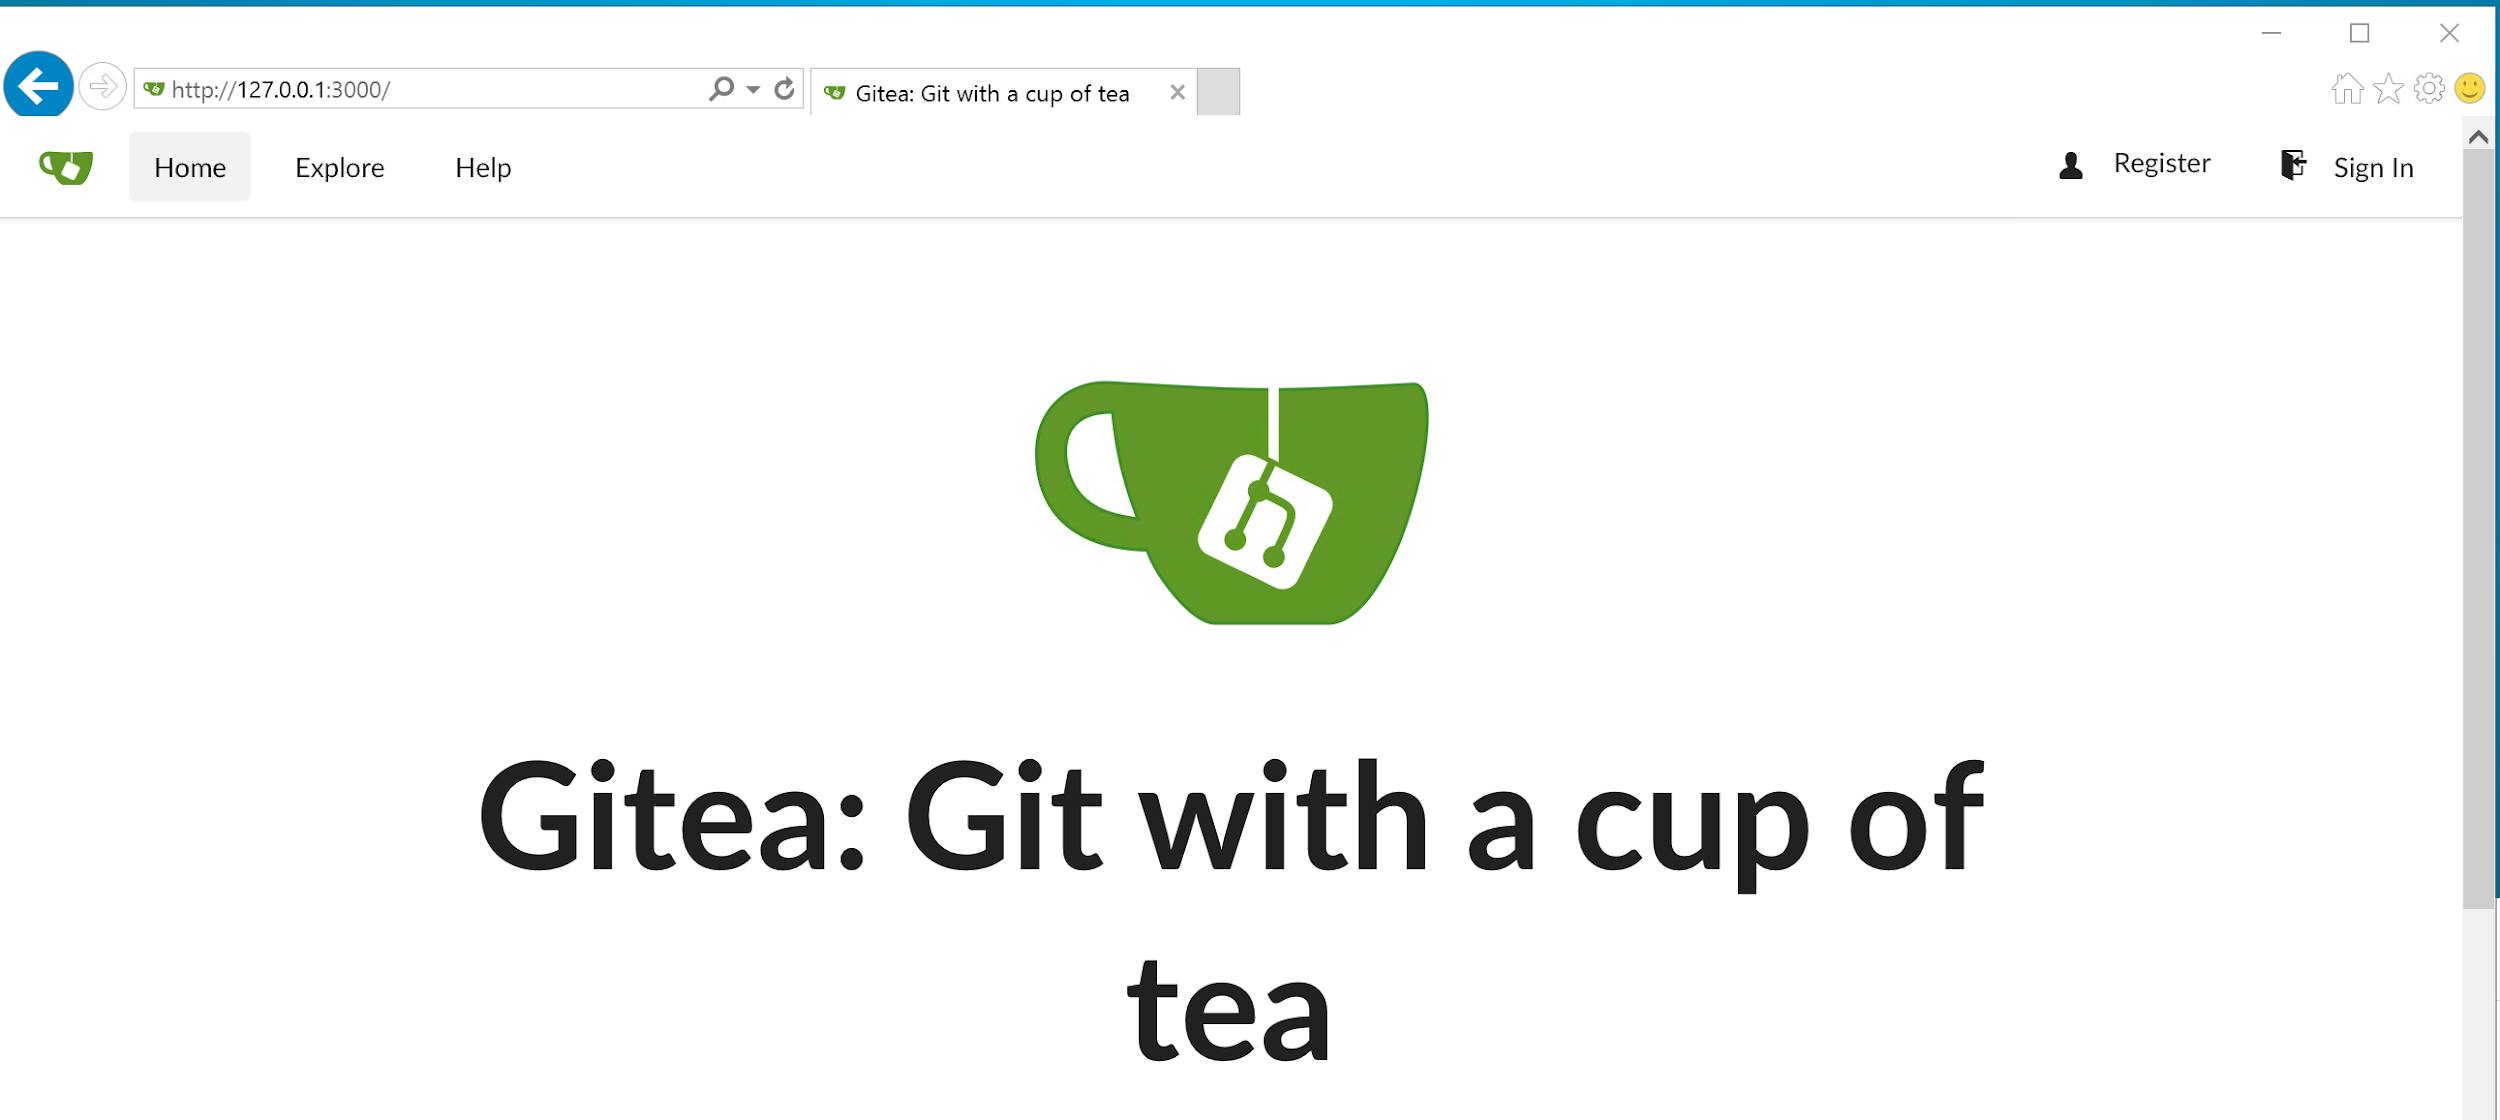
c:\gitea web. This will perform the initial install. The web parameter will launch an instance we can reach via a url. - When the install is complete, open up a web browser and navigate to http://127.0.0.1:3000. Gitea installs a local web server running on port 3000 to manage the service.
6. Click on sign in and enter the Database Type and Path. For this article, this will be SQLite3 and the path where the empty database was created (C:\gitea\gitea.db). You can see an example below.
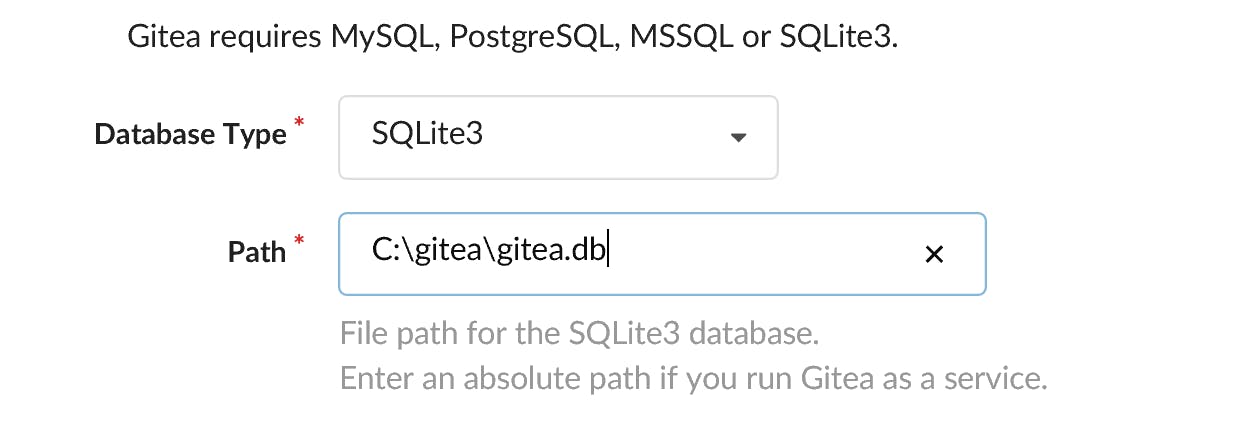
Leave the other settings as default for now. You'll change those once Gitea has been installed.
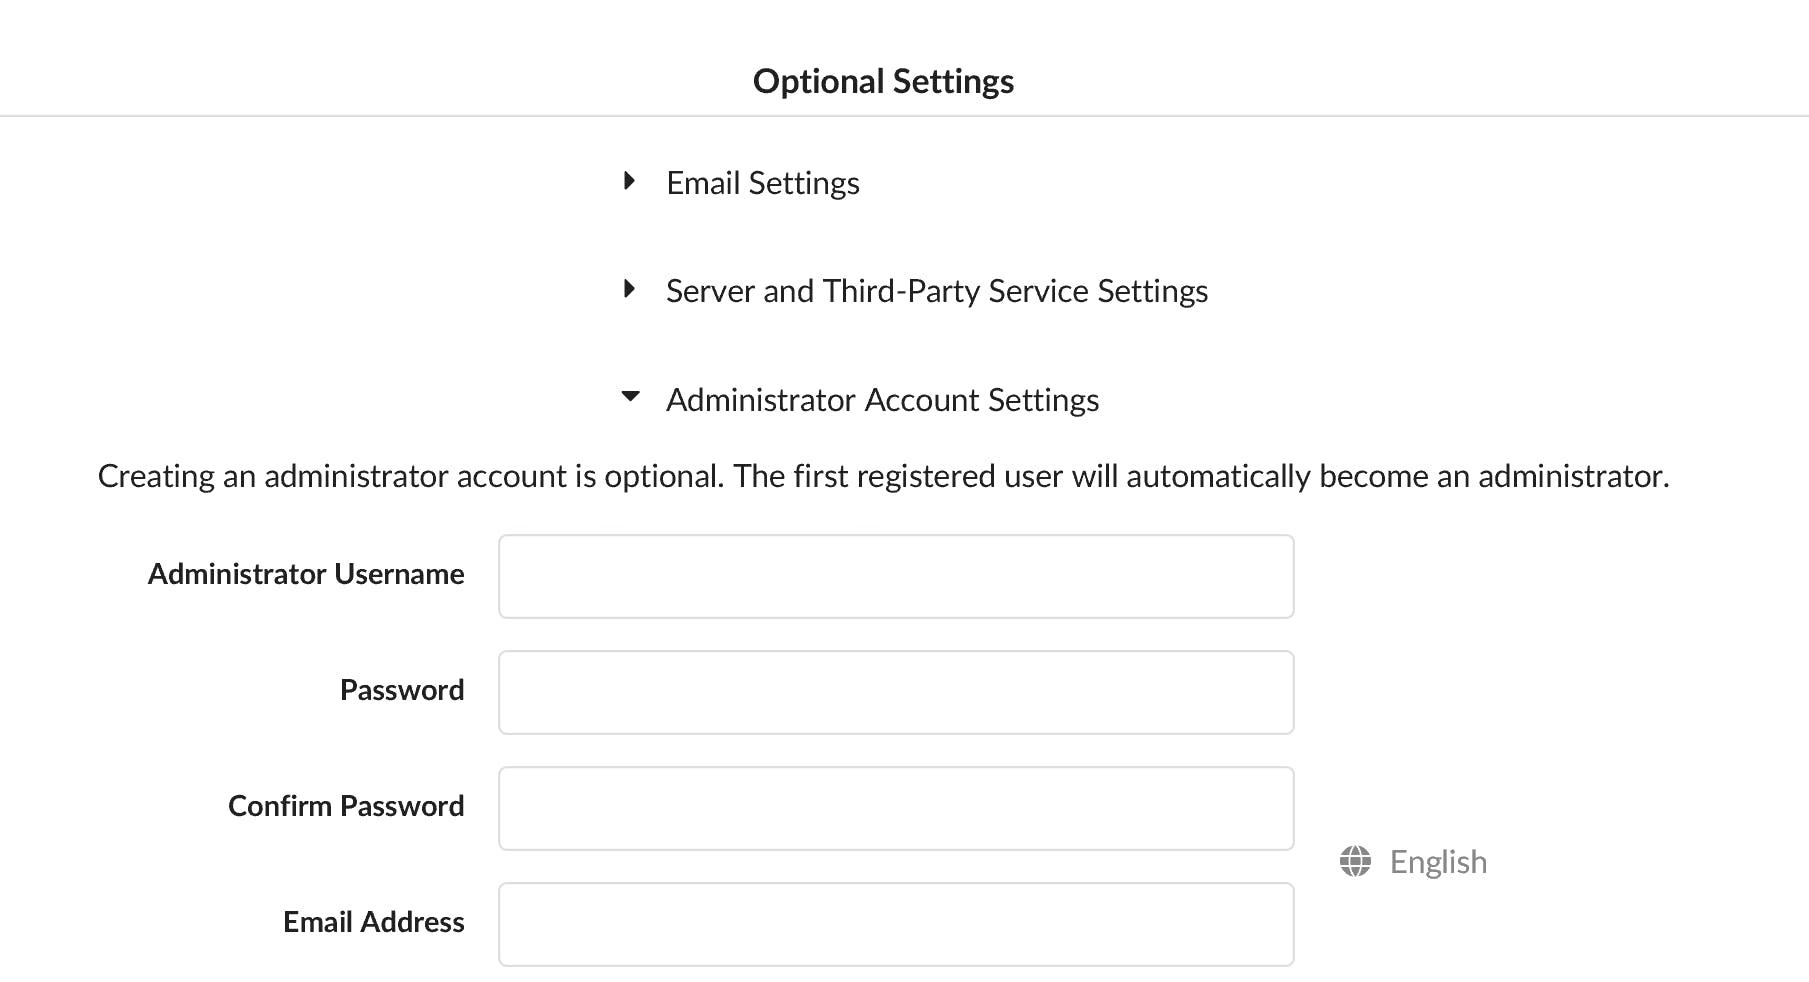
7. Click on Optional Settings, then Administrator Account Settings and add the username gitadmin. This user account will be used as the administrator account.
8. Now click on Install. The Gitea installation process will commence. Among other things, you should now see three folders in C:\gitea - log, data and custom.
At this point, Gitea is just running from the command-line. This means that if you stop the Gitea command-line process by closing the browser, Gitea will stop!
Running Gitea with a Configuration
After your initial configuration is complete, in addition to those three folders being created you will also have a configuration file called app.ini within the custom\conf folder. This file stores many settings. For a complete run down, check out this config cheat sheet.
In your PowerShell console, you can run gitea with the configuration file by using the following command line:
> gitea.exe web --config "c:\gitea\custom\app.ini"This will ensure any settings in app.ini are used. But when you exit from this console it will also mean that Gitea will shut down as well. In the next section, you will set this up as a Windows service.
Running as a Windows Service
Included in the Windows operating system is a tool called sc.exe. One of sc's tricks is to create Windows services. Use sc to create a Windows service so Gitea can run in the background now.
- Close the previous powershell console you have open to stop Gitea. Then open a new console for step 2.
- Run
sc.exe create gitea start= auto binPath= ""C:\gitea\gitea.exe" web --config "C:\gitea\custom\conf\app.ini""in your console. This command will create a service called gitea that will execute c:\gitea\gitea.exe using the app.ini configuration file as covered above. - Confirm the service has been created with PowerShell by running
Get-Service gitea.
4. Start the gitea service using Start-Service -name gitea.
5. Now browse to http:\localhost:3000. Gitea is now running in the background as a Windows service.
Configuring Gitea for HTTPS
Although you could just use HTTP, it's not a great idea. You can just as easily be more secure and manage the service using certificates over HTTPS. To ensure the administration is done over an encrypted channel, first create a certificate. For this project, you'll use a self-signed certificate.
If you're just testing, Gitea can create a self-signed certificate for you. No third-party tools needed. To configure Gitea for HTTPS administration:
- Create a self-signed certificate by running
c:\gitea\gitea --host <your host name>. You can see below the Windows server I have Gitea installed is called app1.psdevops.local and that this creates two files - cert.pem and key.pem (public and private keys).

2. Create a c:\gitea\custom\https folder to store the key files. It's a good idea to store the certificates in a separate folder. In a production environment, you may want to restrict access to the private key.
3. Modify the configuration file at C:\gitea\custom\conf\app.ini under each server section to reflect the path to the public and private keys as show below.
 PROTOCOL = https
 CERT_FILE = c:/gitea/custom/https/cert.pem
 KEY_FILE = c:/gitea/custom/https/key.pem
4. Assign the new URL that matches the certificate subject name in the configuration. This is done by assigning the ROOT_URL attribute.
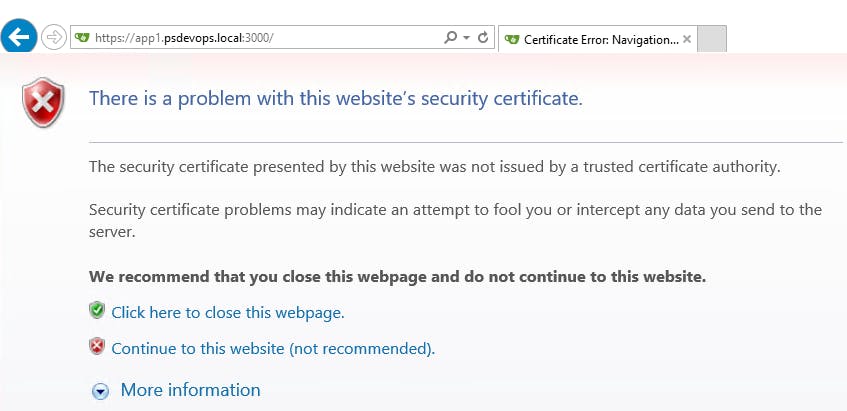
ROOT_URL = <https://app1.psdevops.local:3000/>5. Open up a browser and go to https://<hostname>:3000. You should now see the common certificate warning stating that the certificate is not trusted. This just means Gitea is using a self-signed certificate. If you've chosen to use a public certificate, this wouldn't happen.
Handy tip: If you have a certificate in pfx format, you will need to convert the pfx to pem giving you the two pem files required. OpenSSL can be used to do the conversion.
Optional: Integrating AD Authentication
Although an optional step, you can configure it to authenticate user accounts via Active Directory. This allows you to manage access via AD users and groups rather than local user accounts.
The first step to integrate AD is to create two AD groups - one for normal users and one for admin users. You will create two search filters later on that will query these groups to find out if the user is admin or non-admin level. The actual authentication can take place once this query has completed.
- Create AD groups as follows:
- gitea - Global Security group for standard users
- gitea_admin - Global Security group for administrators
Handy Tip: You can also use Powershell to create these groups as follows:
 New-ADGroup -Name Gitea -GroupScope Global -GroupCategory Security
 New-ADGroup -Name Gitea_Admin -GroupScope Global -GroupCategory Security
2. Next, create two users:
- svc_git - Used as a read-only account to query Active Directory known as the BindDN
- gituser - a user to test access
You can do this manually or via PowerShell as shown below:
$params=@{
    SamAccountName = 'svc_git'
    Givenname = 'svc_git'
    Name = 'svc_git'
    AccountPassword = (Read-Host -AsSecureString "Input Password")
    Enabled = $True
}
New-ADUser @params
$params= @{
    SamAccountName = 'gituser'
    Givenname = 'GitAD'
    Name = 'GitADUser'
    AccountPassword = (Read-Host -AsSecureString "Input Password")
    Enabled = $True
}
New-ADUser @params
3. Add the gituser account to the gitea AD group.
Add-ADGroupMember -Identity "gitea" -Members gituser4. In the web administration site, log in as gitadmin you created during the installation.
5. Once logged in, click on the account profile and click on Site Administration as shown below.
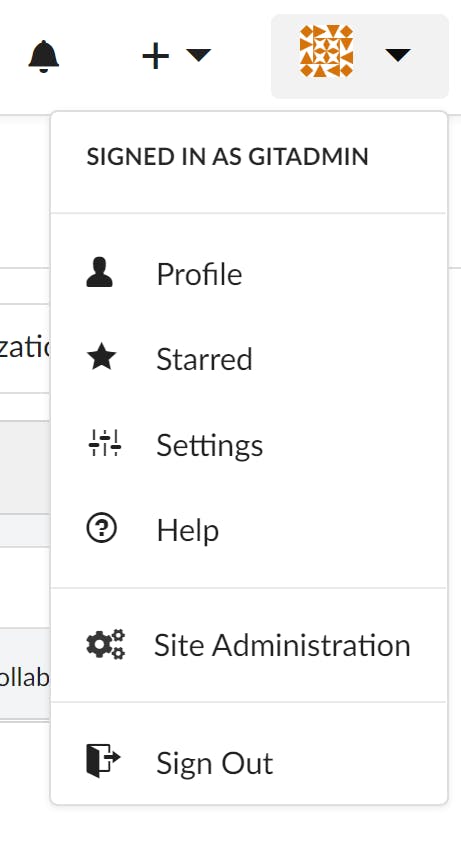
6. Click Authentication sources and then select Add Authentication source.
7. From the drop-down select LDAP (via BindDN) and provide a name for the connection to AD. Below you can see I’ve called mine ActiveD in this demonstration.
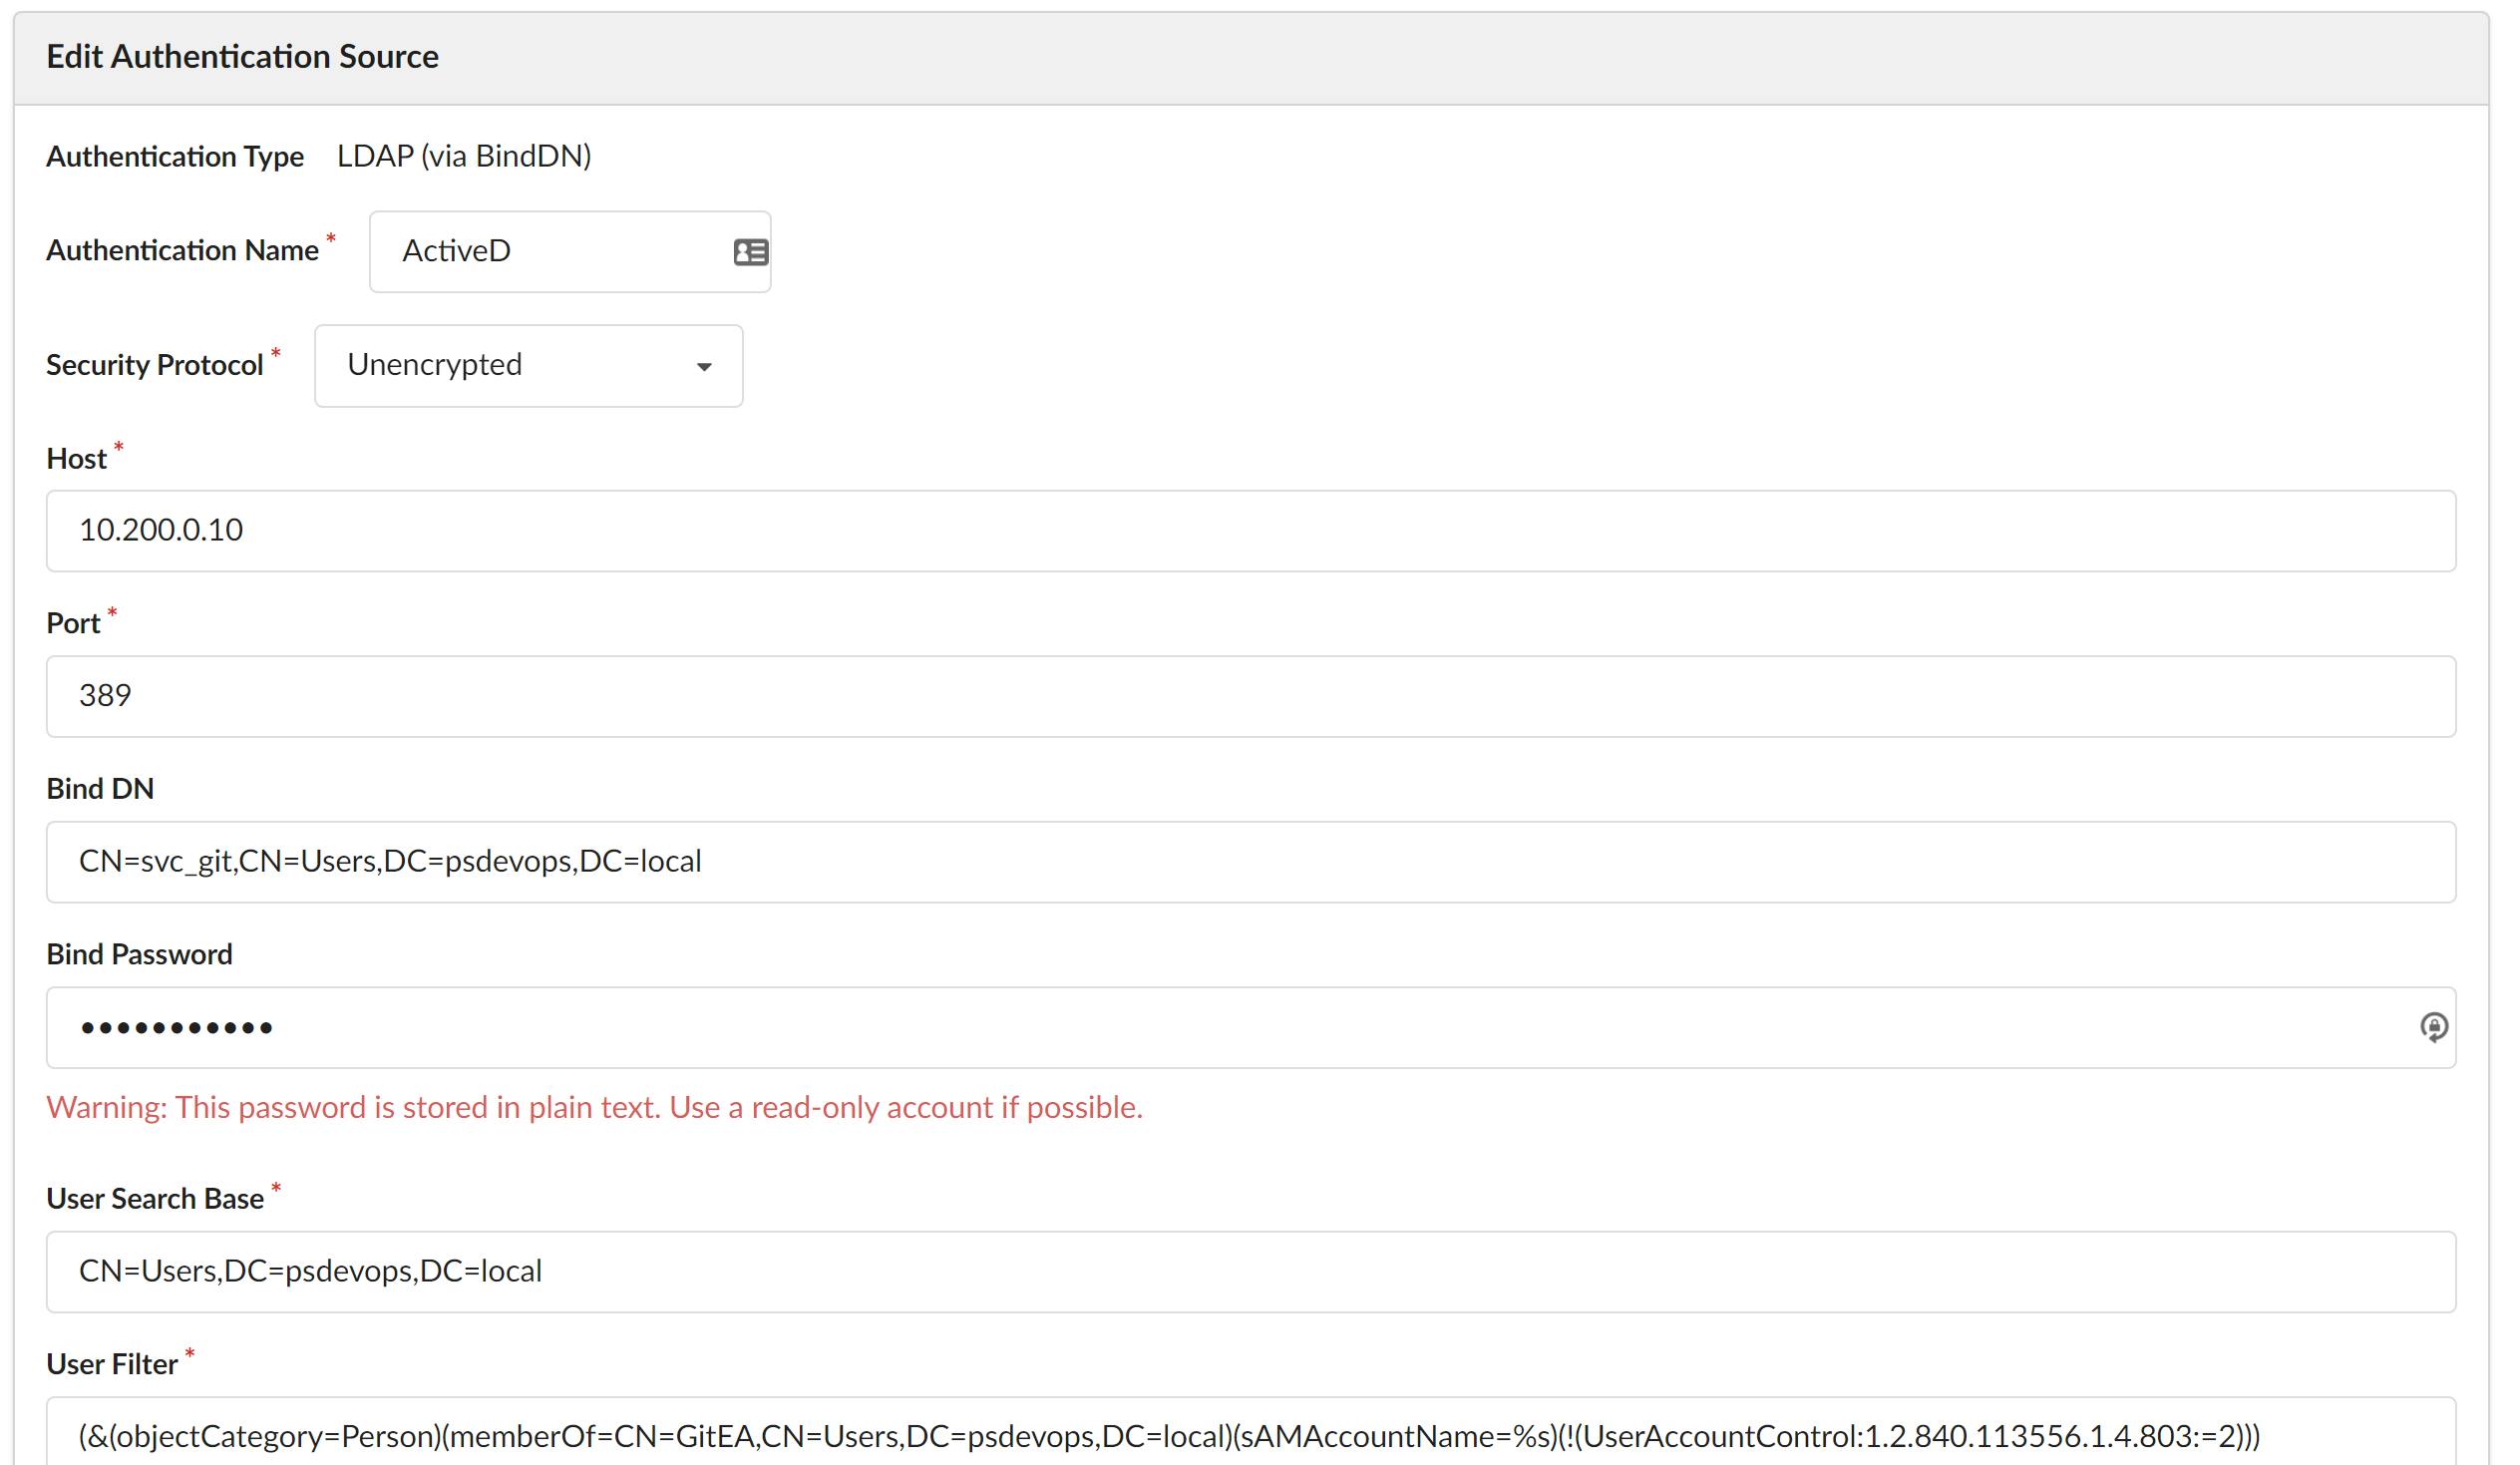
8. Use the following table to populate this form.
| Field Name | Value | Explanation |
|---|---|---|
| Security Protocol | Unencrypted | We won't be using ldaps in this demo |
| Host | IP or Hostname of Domain Controller | You AD Domain controller |
| Port | 389 | This is the standard port assignment for AD |
| Bind DN | CN=svc_git,CN=Users,DC=psdevops,DC=local | This is the service account you created a read only account is needed to do the ldap lookups |
| Bind Password | Service Account password | Service Account password |
| User Search Base | CN=Users,DC=psdevops,DC=local | This is the starting point for searching for user accounts |
| User Filter | (&(objectCategory=Person)(memberOf=CN=GitEA,CN=Users,DC=psdevops,DC=local)(sAMAccountName=%s)(!(UserAccountControl:1.2.840.113556.1.4.803:=2))) | A ldap query to find out if the username entered matches members of this group. This group is for GitEA Users |
| Admin Filter | (&(objectCategory=Person)(memberOf=CN=GitEA_Admin,CN=Users,DC=psdevops,DC=local)(sAMAccountName=%s)(!(UserAccountControl:1.2.840.113556.1.4.803:=2))) | A ldap query to find out if the username entered matches members of this group. This group is for GitEA admins |
| Username Attribute | sAMAccountName | The attribute of the user’s LDAP record containing the user name. Given attribute value will be used for new Gitea account user name after first successful sign-in. |
| First Name Attribute | givenname | The attribute of the user’s LDAP record containing the user’s first name. This will be used to populate their account information. |
| Surname Attribute | sn | The attribute of the user’s LDAP record containing the user’s last name. This will be used to populate their account information. |
| Email Attribute | The attribute of the user’s LDAP record containing the user’s email address. This will be used to populate their account information. |
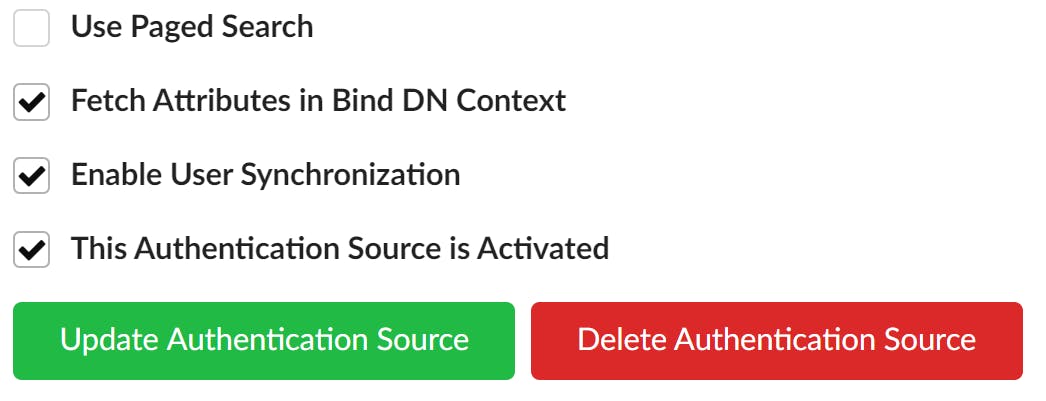
9. Now check the options you see below.
- Used Page Search - Limits the amount of AD user accounts read into memory. This is only needed where you have a large number of users.
- Fetch Attributes in Bind DN context - This option fetches additional attributes that will populate the user account
- Enable User Synchronisation - AD accounts will be synchronized with the instance
- This authentication source is activated - Without checking this, authenticating via AD will be disabled
At this point, any AD user who is a member of either GitEA or GitEA_Admin can log into your Gitea instance with their AD username and password. Those groups will be used to restrict access to your Gitea instance.
Confirming AD User Authentication
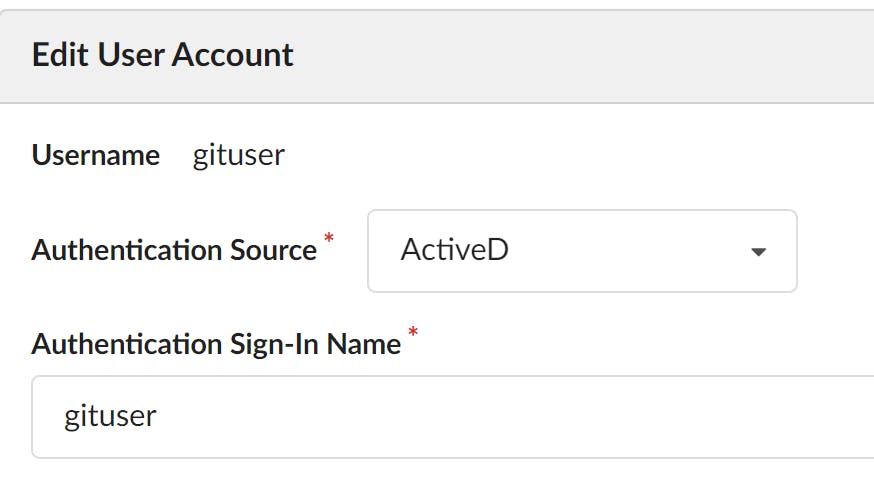
Now you've finished the AD configuration, you can now ensure that the user logging in is using the correct authentication method.
In your GitEA instance, you can check that your user has authenticated against AD, by checking Site Administration | User Accounts and you should see the following.
Summary
Gitea is a powerful, on-prem, open source version control system that can replicate the collaboration benefits you can get from GitHub.
In this article, you learned how to get a basic Gitea installation up and running in a local test environment to kick the tires on.